Thursday, July 28, 2011

Spiculum you say...

There are days where I greatly miss the metalsmithing studio at college.  I miss the atmosphere, energy and of course, I miss the delightful array of tools.


Joe Cornett was in charge of the metalsmithing program at Northern Arizona University. He is an absolutely amazing and talented artist.  He focused on fundamentals, fabricating metal, how it worked and how to manipulate it. Joe studied under Heikki Seppa, an incredible metalsmith who passed away last year.  One of my favorite pieces to make, which Joe learned from Seppa, is the spiculum.


Bracelet by Seppa, open spiculum
The spiculum is created by starting off with a long triangle piece of metal & using a variety of forms & hammers, you contort a flat piece of metal into this hollow tube.  I soldered the seam, annealed it one last time & the form allows you to bend and twist the metal into amazing shapes.  This is just a simple pendant, but the technique is so versatile as you can see from Seppa's creation above.

Spiculum pendant
It's difficult to create this at home. The metal needs to be annealed numerous times and I don't really have a torch system which gets hot enough to heat up such a large piece of metal.  One day...

Tuesday, July 26, 2011

love of Deco

When I'm sketching, I tend to let my pen wander, draw a shape, fill it in with little details and create a design. Then I draw it about fifty more times with slight variations until I create something I find appealing. I will have pages in my sketch book of one little shape, filled with little differences probably only I care to notice.

The Art Deco era still remains one of my favorite time periods of art history and a source of constant inspiration.  I love the linear aspects, symmetry, geometric designs and overall style with its elegance and beauty.

This necklace I created by sawing out a piece of 20 gauge silver.  I covered it with a resist to protect the silver from the nitric acid and only etch whatever I drew out of the design.


I also solder on two half rings to the reverse so I will have something to attach my chain to. I etch my signature to the reverse of most items I create using nitric acid.


After etching, I clean the resist of the surface. I gave this piece a satin finish by using a 400 grit, carbide sandpaper.  It's not like the paper you would use for finishing wood, it's a bit different and gives metal a nice finish. 


I use an enamel paint to push into the lines so they are a bit more prominent. I use nail polish remover to clean it up, assemble my chain and clasp, and now I have my own little representation of Art Deco.

I enjoy making some of my jewelry a little large. I like the weight of it and after wearing it for a while it becomes warm from your skin. I like to know it's there, a reminder of something I created, it's an expression for what influences me. 

Monday, July 18, 2011

It only took 5(ish) years?

Once upon a time, I found a chair someone was trying to throw away. It was in bad shape, but it had good bones and a great design. So, I took it.  I ripped off all the fabric and removed the stuffing. There were a couple layers of failed paint which I scraped off, sanded meticulously, stained a beautiful cherry and gave it numerous coats of polyurethane.  

Sanded & Stained

I used to study my flash cards for Art History while working on this project. Unfortunately, school took up a majority of my time and the upholstery aspect was put on hold...for years.  I've been dragging this chair (as well as another) around from state to state, apartment to apartment, waiting to find the perfect fabric and/or the time to finish it.
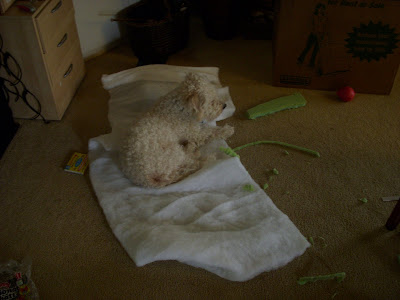
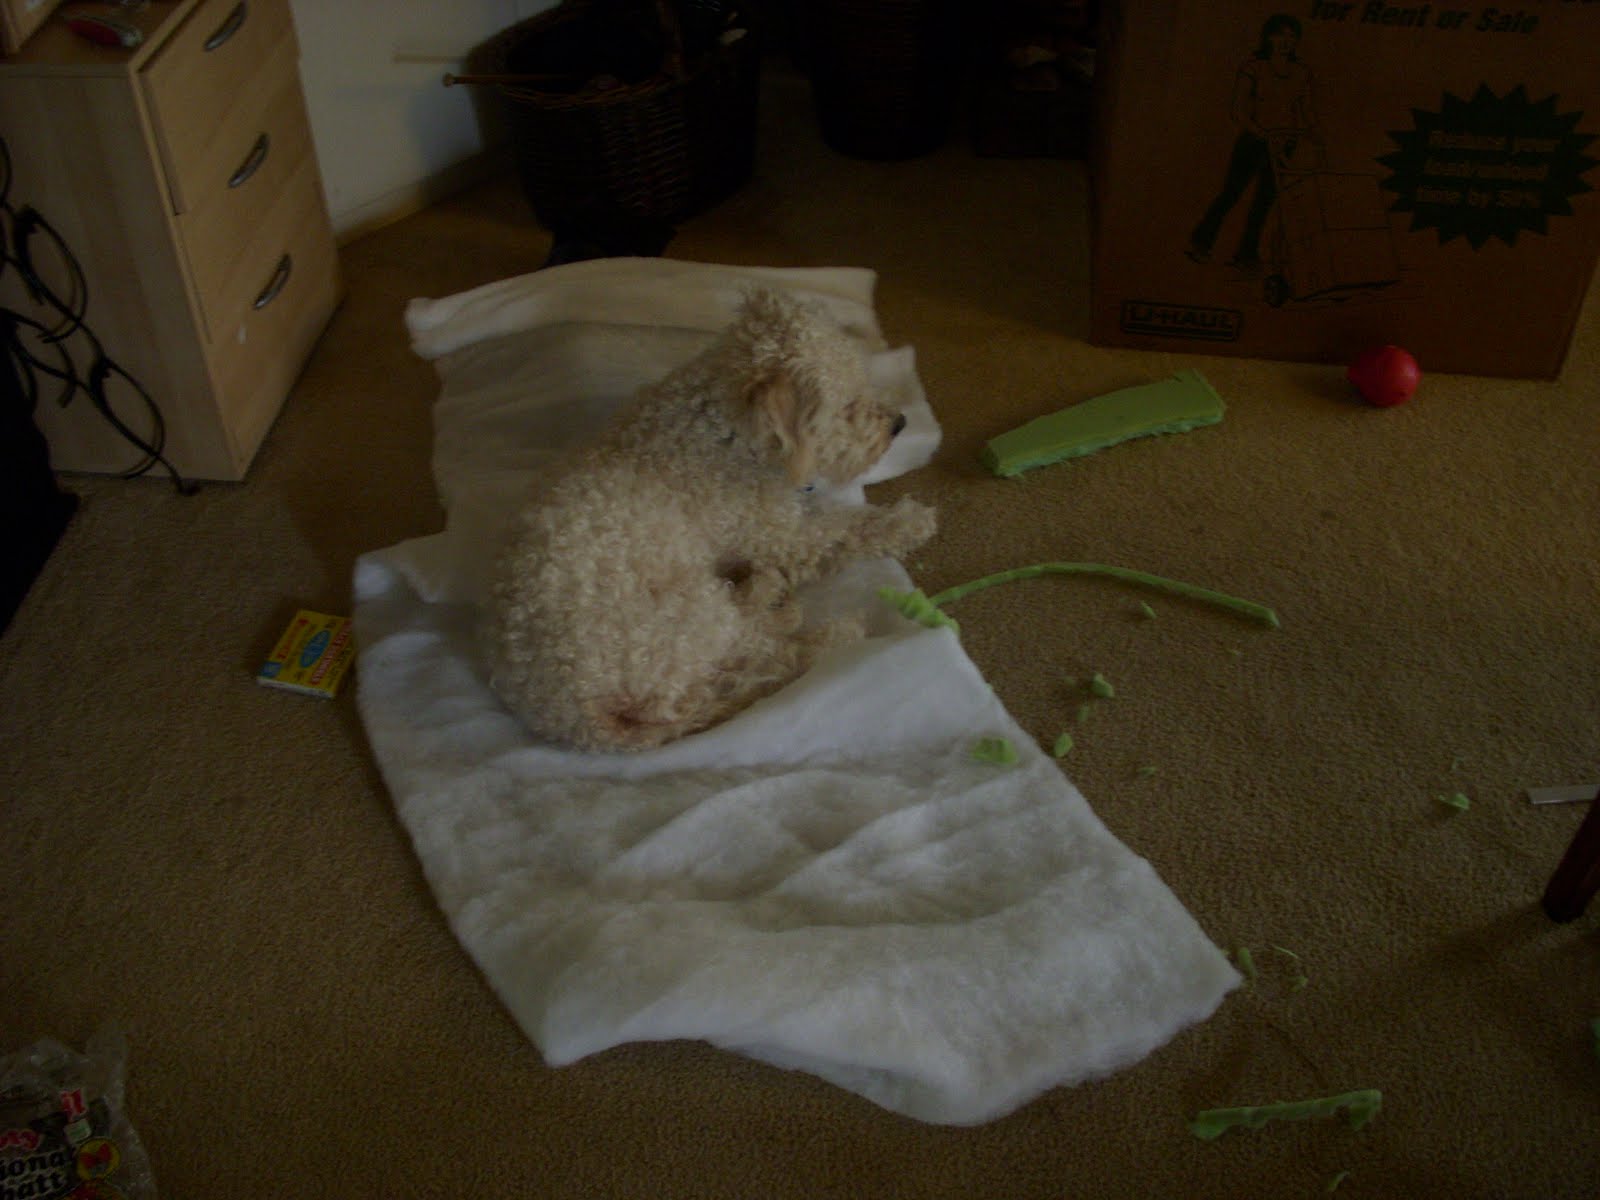
Wesley

My life has undergone some major changes the past couple of months.  I am trying to streamline things, get rid of the clutter and chaos.  It was time for this thing to be finished.  Wesley (sister's dog above) didn't always cooperate, he would perch on my batting, eat the foam stuffing, or simply keep bumping me with his nose until I stopped what I was doing and gave him attention.
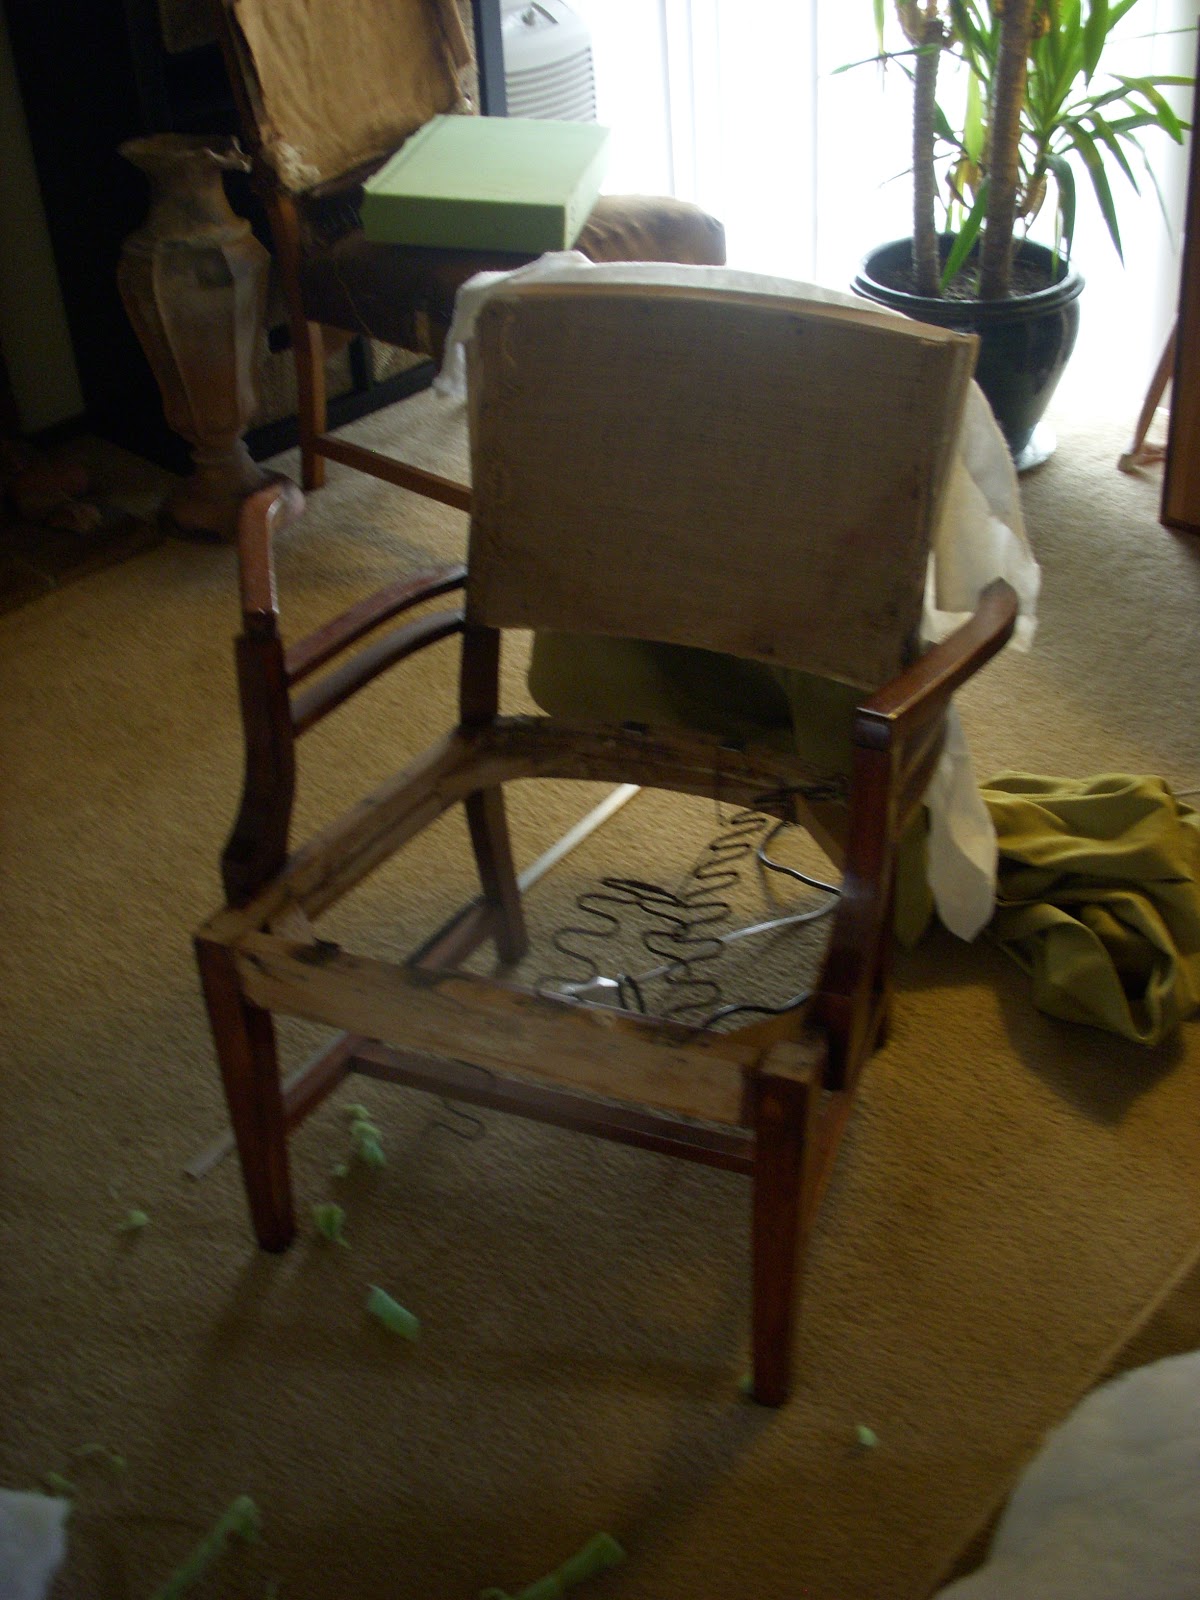
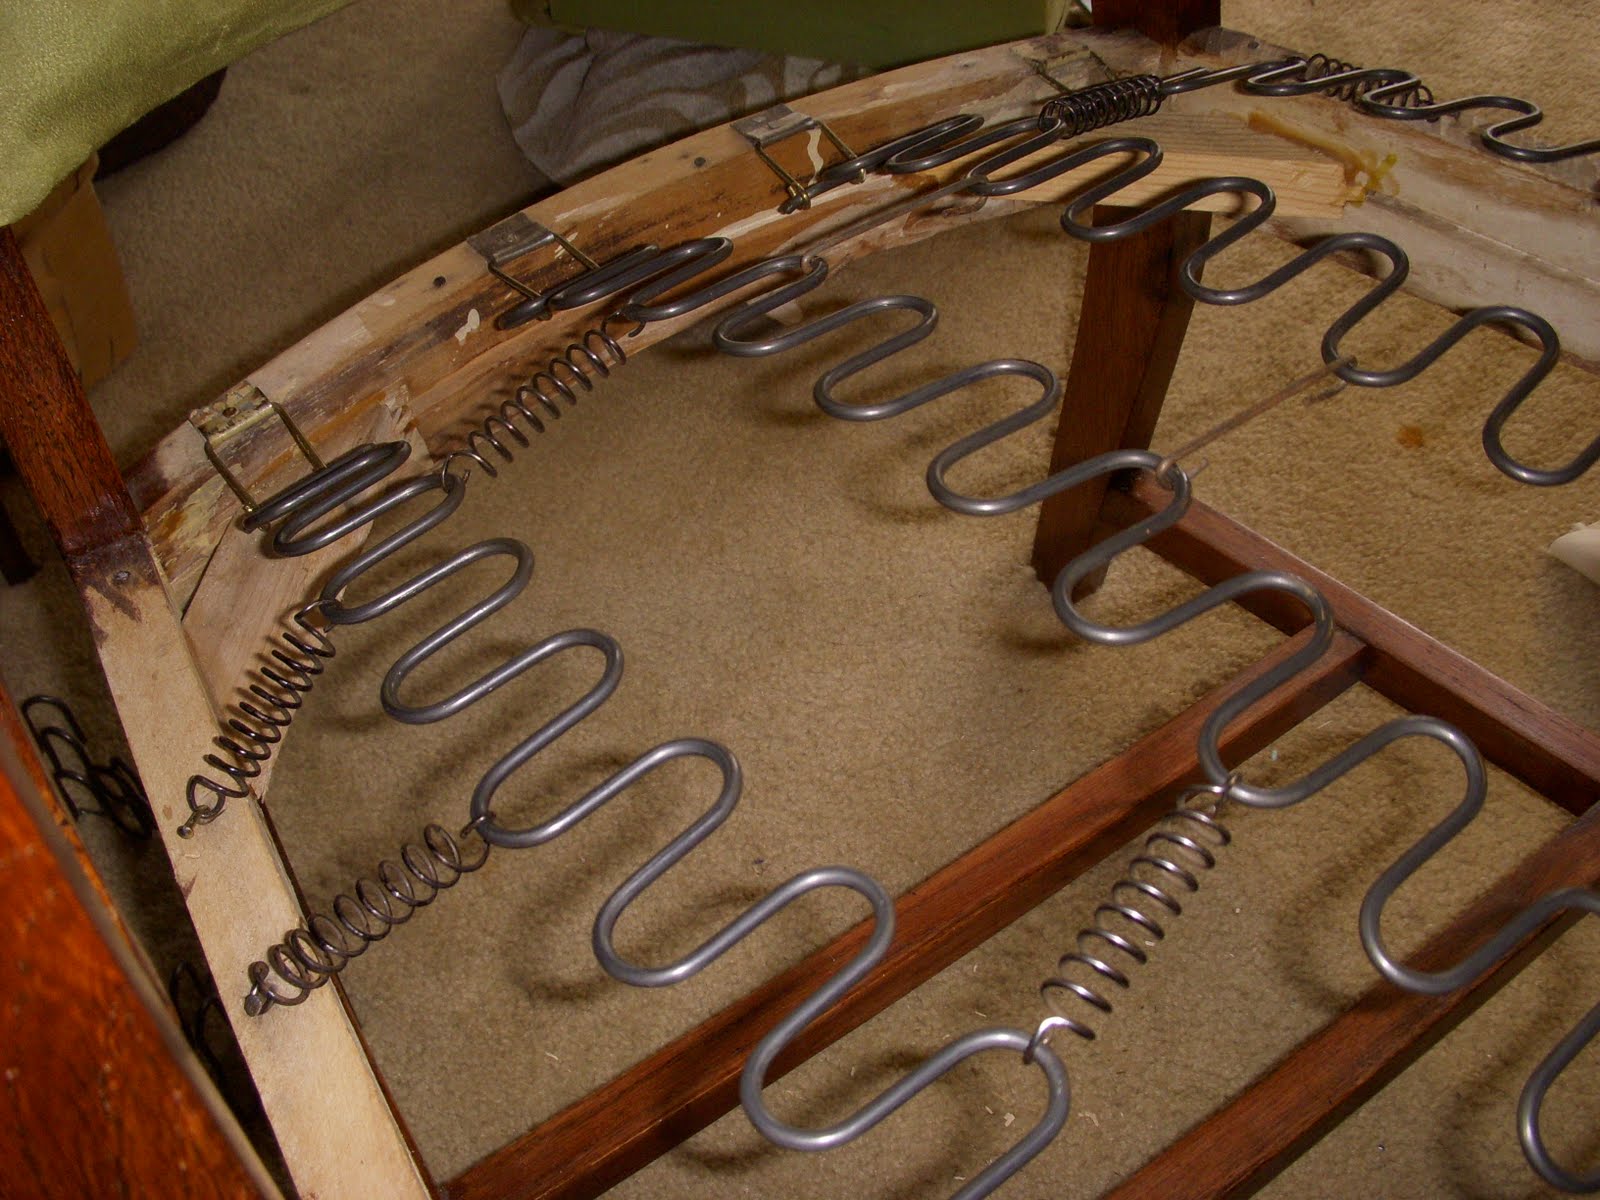
Springs!

I enjoy taking on projects and figuring out how to create something. I'll look at pictures, research online and get a basic enough concept so I can just wing it.  The zig zag springs needed to be replaced, so I had ordered them online (years ago, I've also been carrying these around), bought some heavy duty cutters and replaced all the springs.  I borrowed the helical springs from a different chair waiting to be refinished, and after much frustration and pinched fingers, I got it cooperate with me.  I know this may not be the correct version of upholstery, but it works well enough for me.
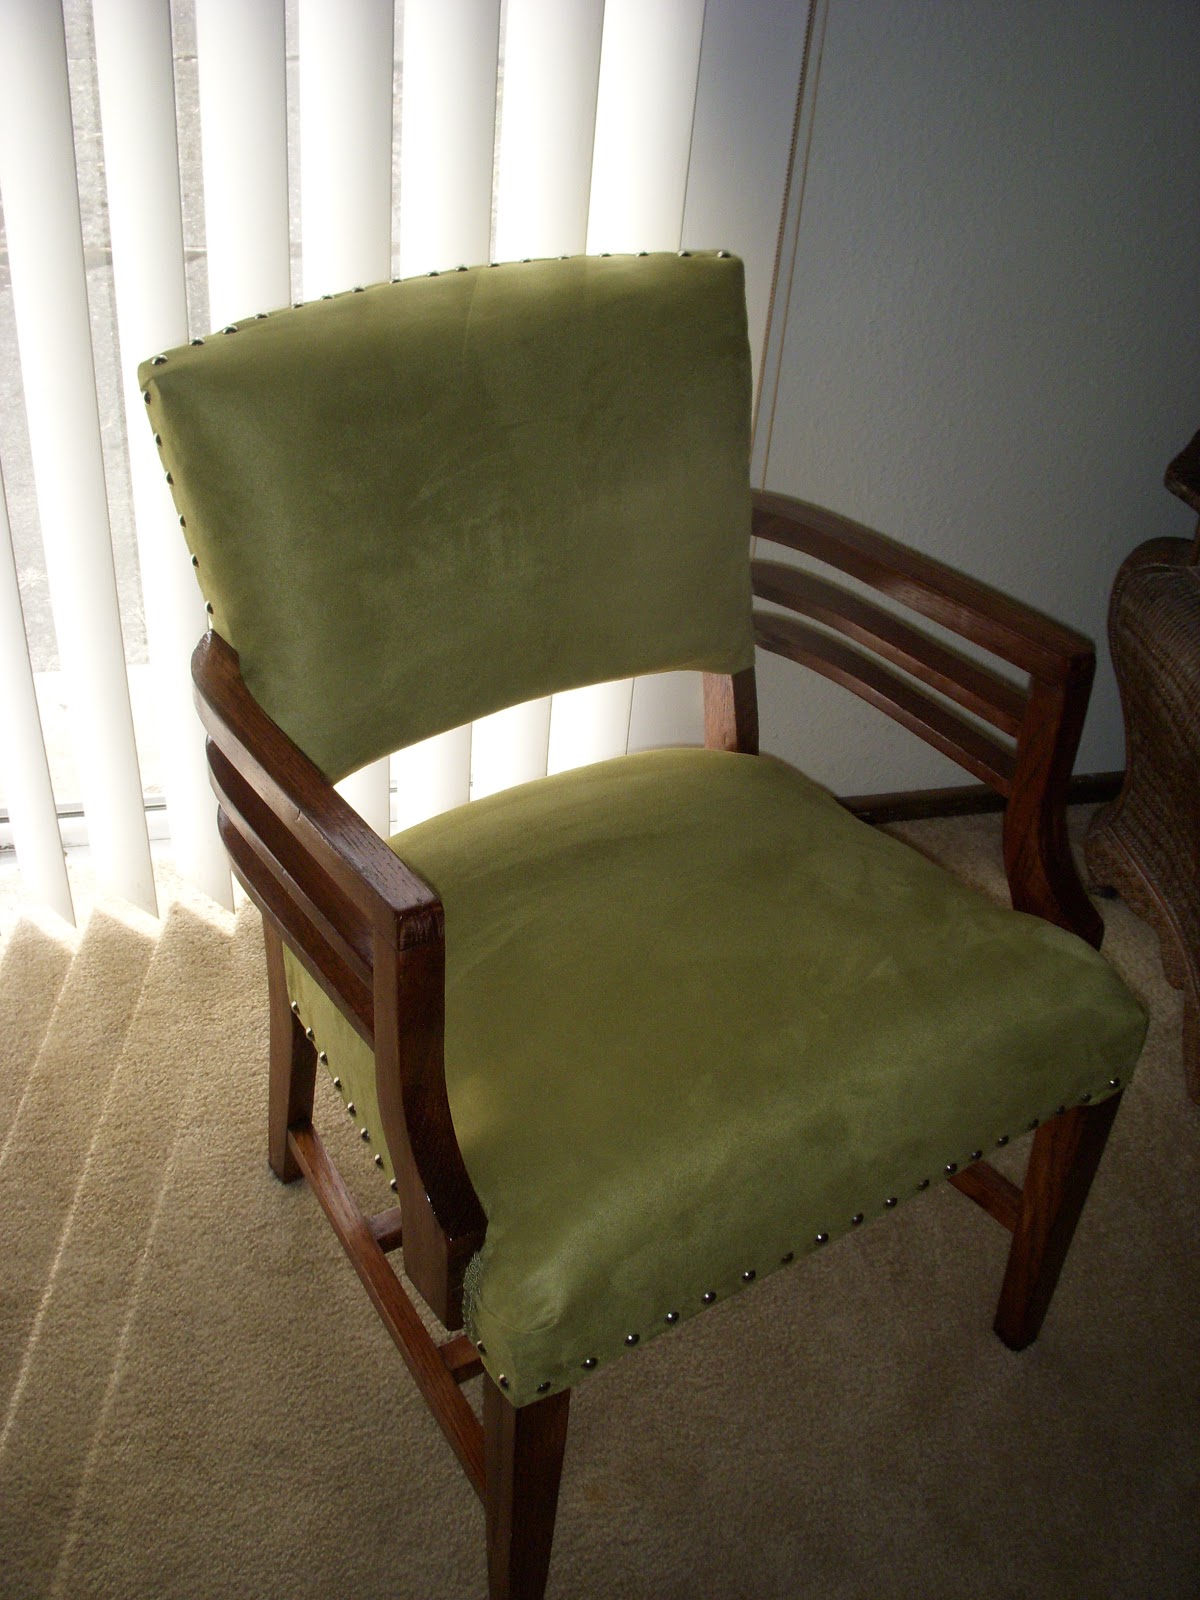
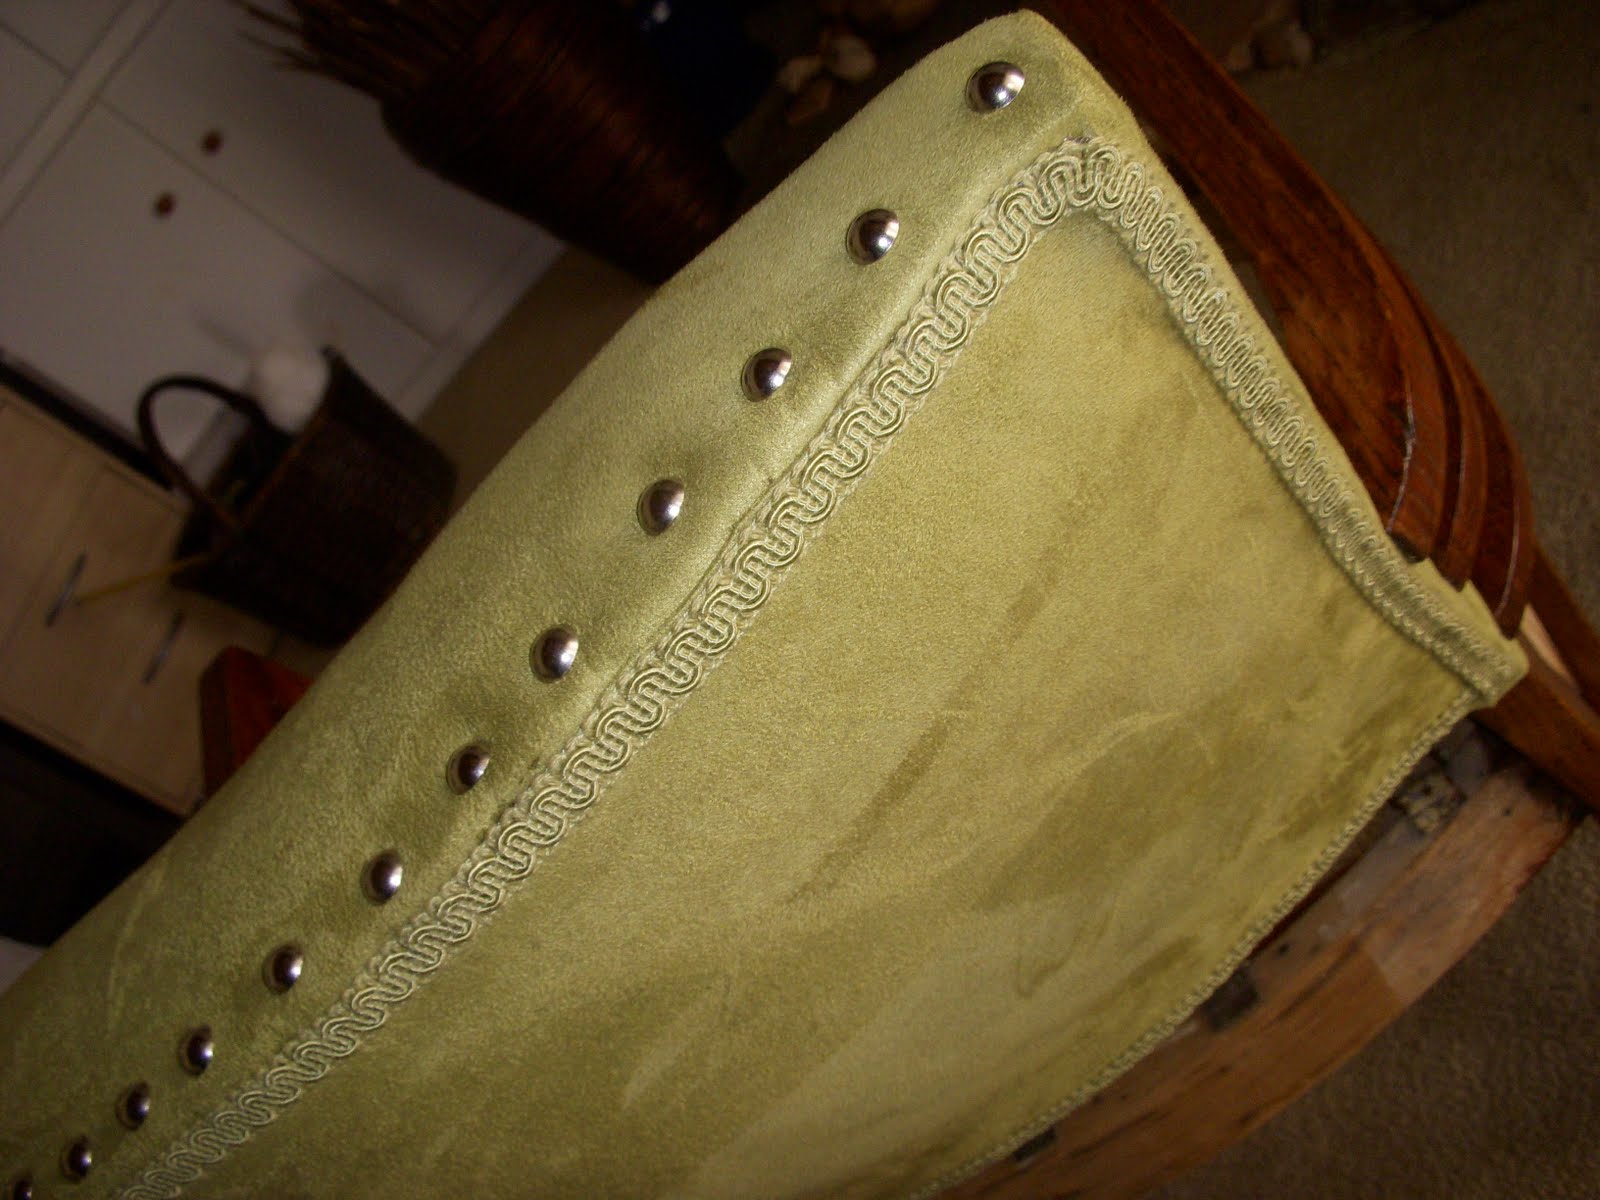
silver brads

The finished product isn't ideal, but it was definitely a learning process. I added some silver brads for detail, it's a nice contrast against the peridot colored suede. I'm not a huge fan of measuring and the stupid brads kept bending as I hammered them so some are a little off.  A bit annoying, but I'll just tell people it adds character.
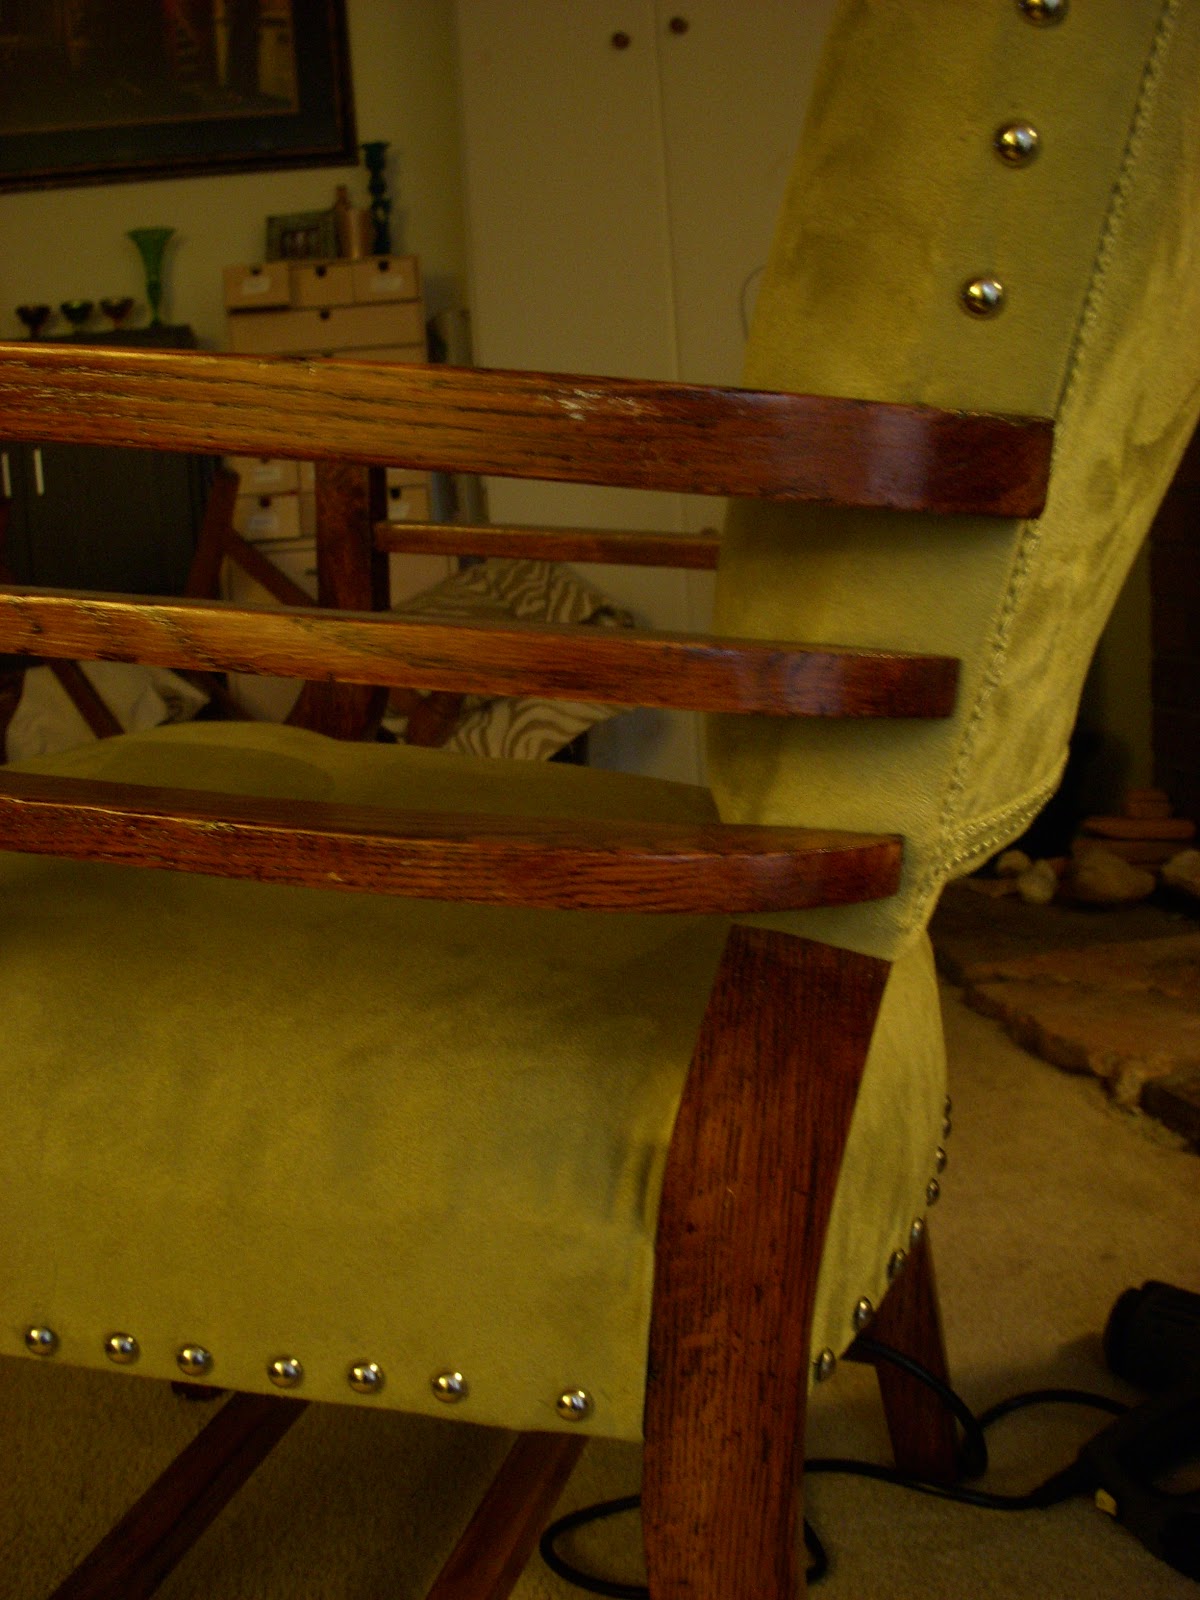
It makes me happy


Very off center brads, I fixed a couple of them so they aren't as bad

Sunday, July 17, 2011

a bit of an obsession...

I hate to admit it, but I am rather fond of zebra print.  I try to keep it to a minimum, but I can't help myself. Some little girls want a pony, I want a zebra.  I've made a couple pieces utilizing this striking pattern, I wonder how many other 30 something women are captivated by this print as well.

These earrings are on my Etsy site.  I started out with a piece of copper, cut it with sheers and gave it a slight dome. You must also pre-drill all your holes prior to enameling since you can't drill very well through the glass finish.

I used a technique similar to what I use when doing cloisonne to apply the enamel. After firing on my base coat, the stripes are applied by adding water to the enamel powder. Before firing the enamel must be completely dry or it won't turn out and you may get air bubbles in the enamel.

 The pendant below is also on my Etsy site.  The base for this is silver.  I cut out a silver circle, soldered on a bezel and added a simple bail.  I did a little watercolor and ink picture, inserted it into my frame and covered the piece with a 2 part resin, similar to mixing an epoxy.  Little air bubbles form, but carbon dioxide will pull them up to the surface. So you can either breathe on it or use a butane torch if it's a large surface.


The resin is incredibly durable, a friend and I covered an entire coffee table once with the product, it hardly scratches and cleans up well.

I'm about to re-upholster a chair with a white on beige zebra pattern.  It's subtle, but I think it will bring a nice statement to my living room.  I look forward to the day when I may have a zebra skin (faux of course) rug in my home...