Tuesday, October 25, 2011

A hole in my...

I love enamel. The results give you instant gratification.  These earrings are a simple design with just an iridescent blue directly over the copper so the oxidation from the kiln shows along the edges. 


The detail is more evident in the close up view. I hung these from fine silver chains so they would dangle more and the enamel could catch the light.


Saturday, October 15, 2011

Koi swimming through the water...

I love screen printing.  You can acheive vibrant results in a short amount of time. (Especially when you compare it to the lithography printing process!). This print is on my Etsy site as well. For the basic screen printing process, there isn't any acid to deal with or etching to master.  The printing process is simultaneous with the creation process so it's instant gratification!
Our print teacher taught us the reduction process. You start by laying out your lightest color ink over your entire paper (except where you have already stopped out if you wanted to keep it white). As you transition to darker colors, you "stop out" what you don't want covered if that makes any sense.

So I did the light orange/yellow ink first.  Then whatever I wanted to remain that color I applied a resist to my screen so those areas I wanted to remain that color wouldn't be hit with ink.  Since you're printing an edition of at least 10, and a few extra for consistancy, you need to apply your ink to each piece of paper before stopping out your color. It's tricky to make sure your registration is consistant so all your layers of ink line up correctly.  It makes much more sense in my head, it generally does.

Wednesday, August 31, 2011

Miss Mary

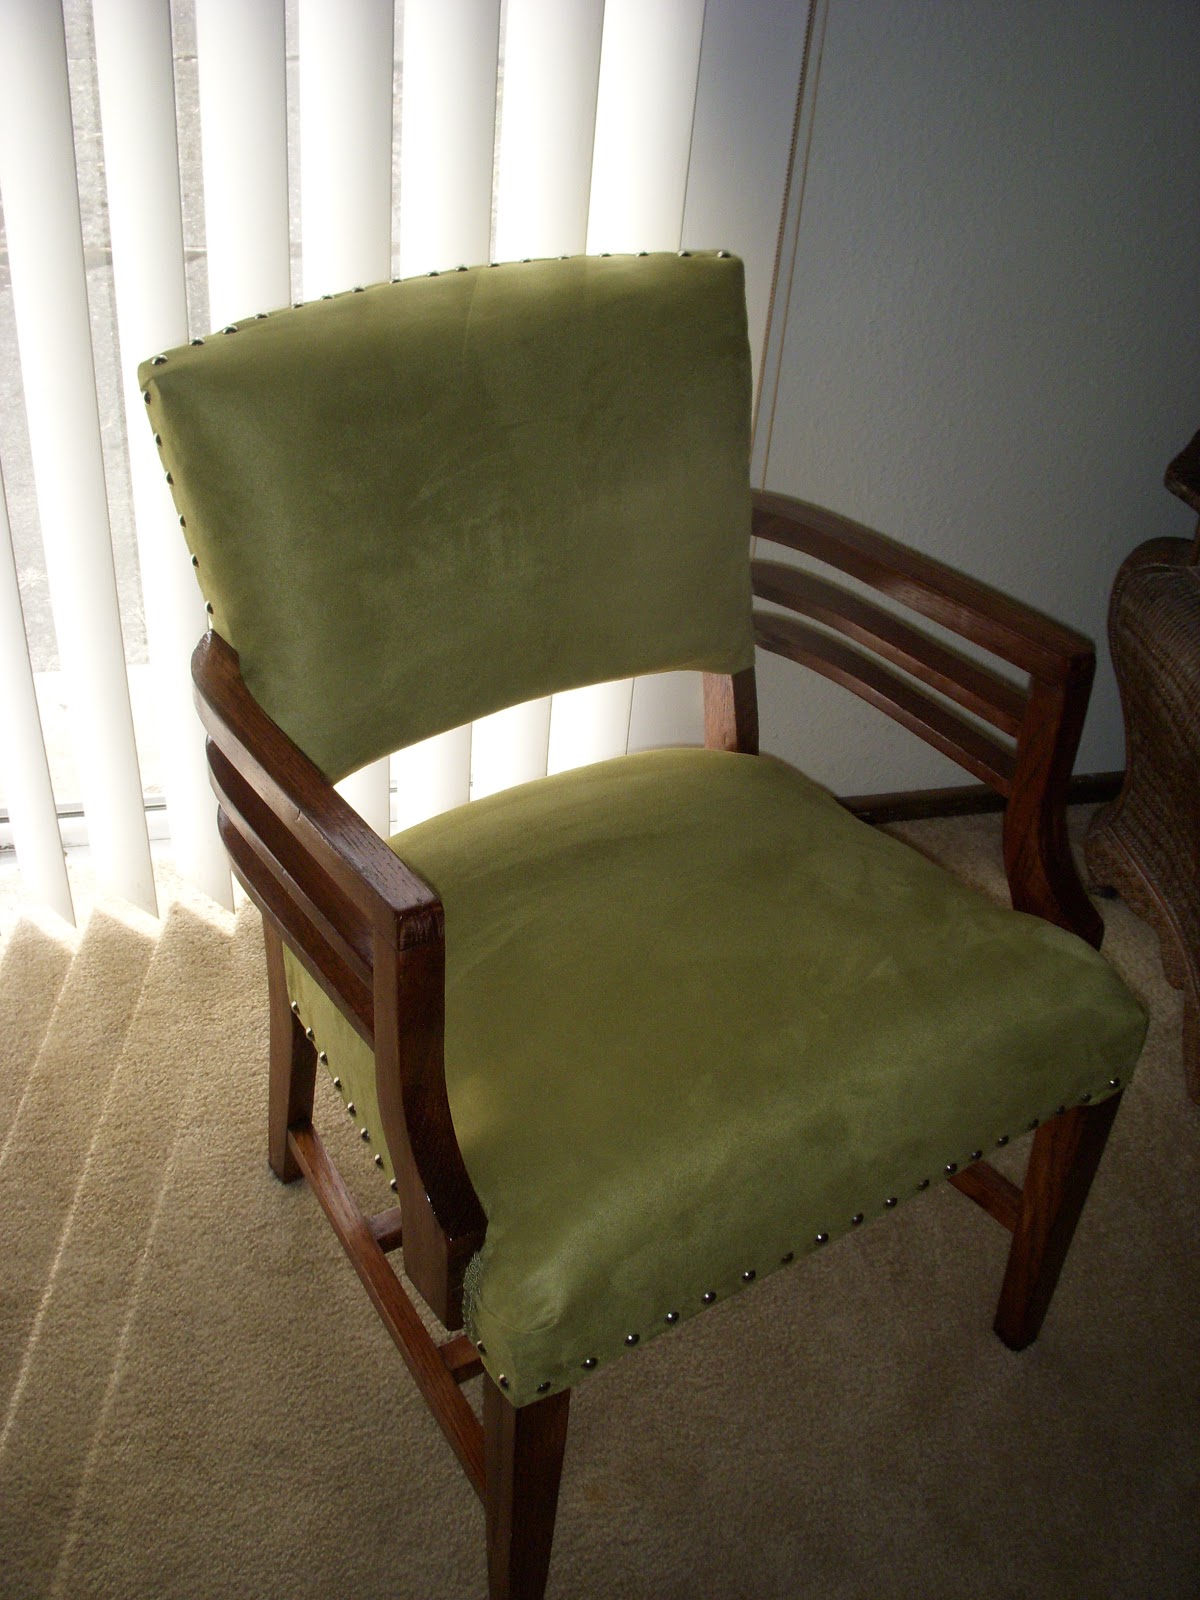
Print making is a passion of mine.  I miss being in the studio, I miss Dave Williams, probably the best print teacher in existance. Part of the beauty of print making is that it's remained the same for centuries.  Products, inks and tools may evolve, but the basic concept and techniques remain true. 

Although 
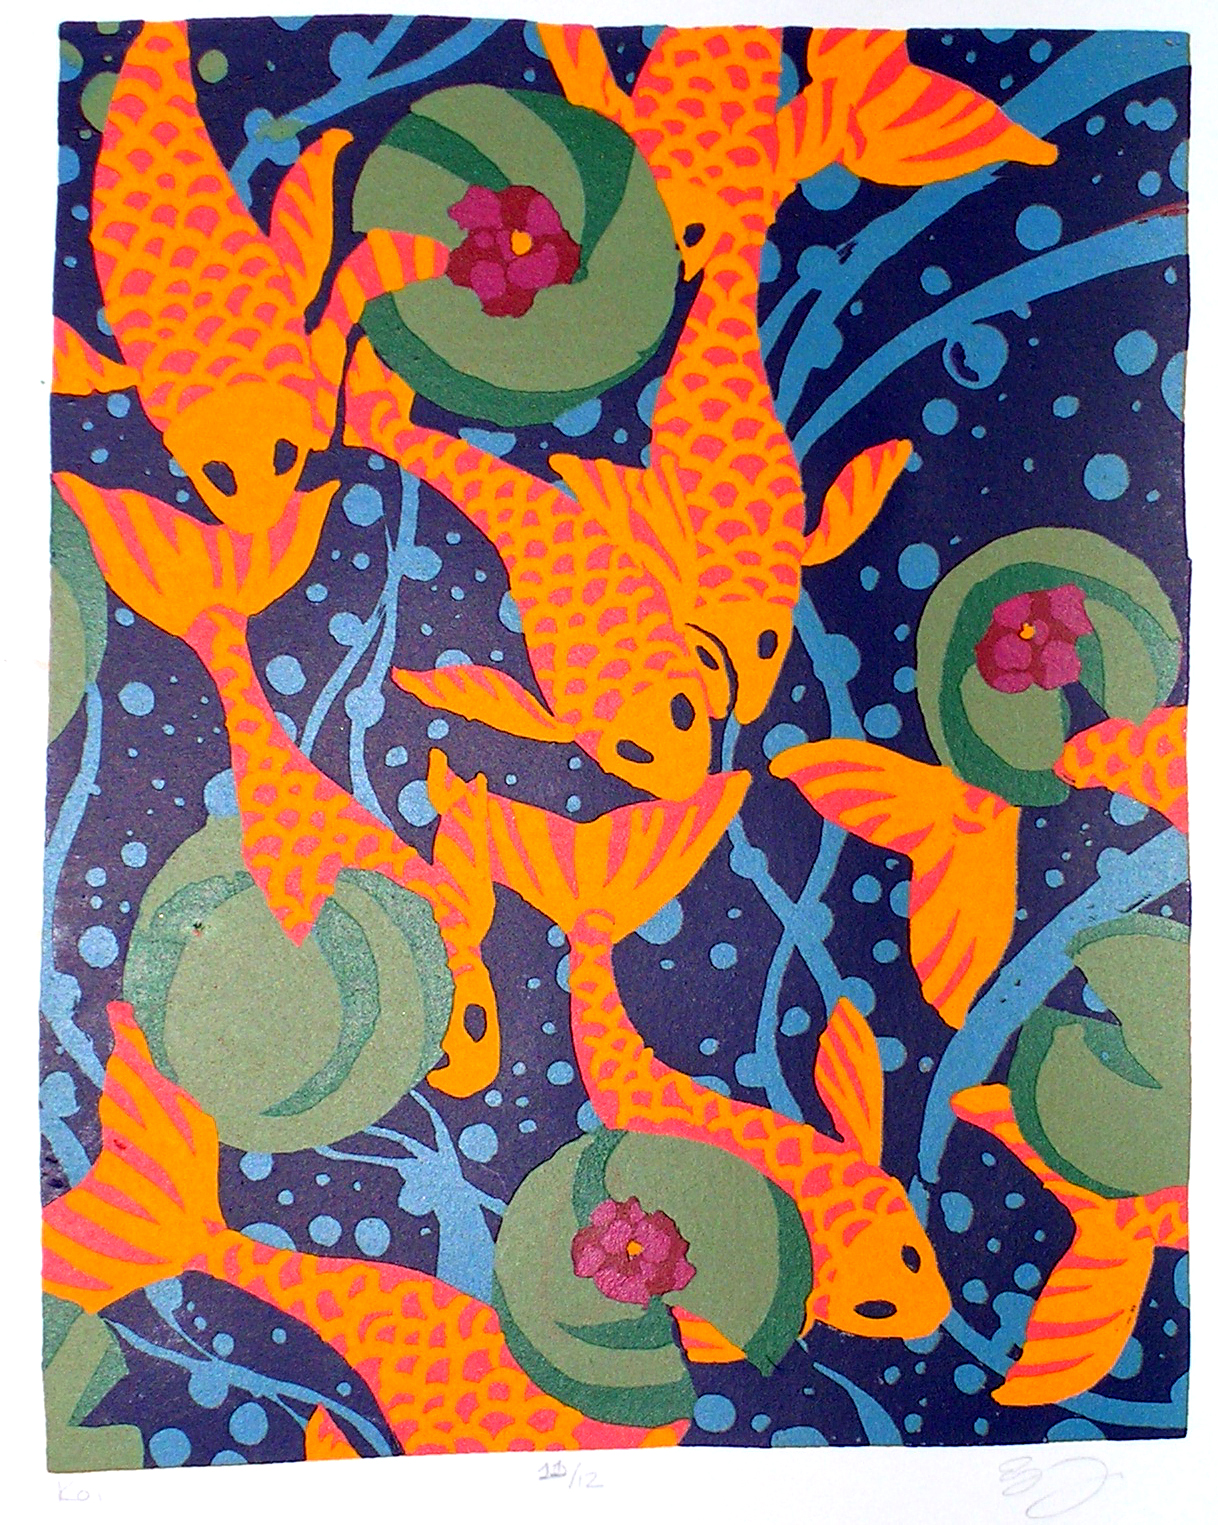
Lithography isn't my favorite, I still appreciate the art form.  We are given a giant limestone, which are no longer even quarried so whatever is left in circulation is all you get.   These are like gold, if you drop, chip and/or break one, you will feel horrible.

I tend to use photographs for inspiration which are close to my heart. My dad is an amazing photographer and I use a great deal of his work for sources to draw from.  This one is of my mom as a little girl, I love this picture. I have it framed in my house too.

my mom
One of the techniques is drawing on the stone with a grease pencil, giving the print a crayon like quality. The result isn't as appealing for me, but the process is incredible.  So many unique steps.  Preparing the stone with 3 different carbide sand grits, stopping out the borders, drawing on your design, the acid etching where you use varying strengths of acid washes. 

The print process takes hours, preparing your stone again with various washes and gummy liquids, mixing your ink to the perfect consistancy, wetting the stone, rolling on the ink, then wetting the stone again, roll it from a different angle. I've had my hands bleed from the process.  When you run the stone through the printing press, you need to have it adjusted so it gives the stone the right amount of pressure, too much and it'll crack your stone in half, not enough and the entire time you just spent inking your stone is wasted because the ink won't transfer properly. 

To create an edition of 10 will take you hours. For a novice, you generally make 15 prints because the edition needs to be consistant, printed the exact same every time. The extra are the ones with the variations which are noticible enough to not fit into your edition.


Monday, August 29, 2011

love hate relationship

I have a completely irrational fear of bees. I cannot control myself if there is one in the slightest vacinity to me. I will scream and run. I can't help it.  When my sister and I were younger I remember these tiny little terrors getting caught in our hair. Thankfully my mom would always remove them.

Despite my disdain for bees, I like their imagery. This necklace below obviously isn't a very true reproduction, but the form inspired me. I was looking at a bottle of tequilla and the emblem was so appealing that I started to sketch variations of it.  This is my emblem, I have it as my Avatar for my Etsy site.  It was my main piece in my BFA Show show when graduating from Northern Arizona University.

etched sterling silver, lemon quartz and pearls


I photographed this piece on a bar stool in my apartment. My sister helped me arrange the chain by using a pair of tweezers and meticulously manipulated the pearls and silver.  It took longer than one would imagine to get the right feel and positioning of the chain, but she did a splendid job.

Wednesday, August 17, 2011

put a bird on it?

I absolutely love this piece.  I wish I had an occasion to wear it for. These are my Egyptian inspired birds, for some reason they remind me of my brother.

I created a stencil from paper and cut out each bird separately. I then soldered them together at two points, one at the beak and at the base of the talons.

As many of my pieces, I used nitric acid to etch in my design.  Since the pieces are so large, it takes a while for the acid to etch evenly.
I wove a Roman Chain, which takes hours.  I started with 26(ish) gauge fine silver, wrapped it around a tube, and cut the "spring" looking form to create tiny hoops. Since it's fine silver, you can fuse the hoops closed without solder and without the metal oxidizing. 

After ruining at least 30% of them, each hoop is stretched using a special pair pliers you can get at an auto supply store. It elongates them so you can weave them together. I used 3 links, I thought 4 would be too large. 

After you have a desired length, you need to anneal the metal, then pull it through a series of holes drilled into wood, or a metal plate.  This gives a streamline look, pulling all the "threads" tight.  Anneal the piece again, then run it over a dowel so it becomes more pliable and will fall better across your neck. I soldered on spiculums to hide the ends of the chain.

Next time I go grocery shopping I'm going to wear this anyways.

Thursday, July 28, 2011

Spiculum you say...

There are days where I greatly miss the metalsmithing studio at college.  I miss the atmosphere, energy and of course, I miss the delightful array of tools.


Joe Cornett was in charge of the metalsmithing program at Northern Arizona University. He is an absolutely amazing and talented artist.  He focused on fundamentals, fabricating metal, how it worked and how to manipulate it. Joe studied under Heikki Seppa, an incredible metalsmith who passed away last year.  One of my favorite pieces to make, which Joe learned from Seppa, is the spiculum.


Bracelet by Seppa, open spiculum
The spiculum is created by starting off with a long triangle piece of metal & using a variety of forms & hammers, you contort a flat piece of metal into this hollow tube.  I soldered the seam, annealed it one last time & the form allows you to bend and twist the metal into amazing shapes.  This is just a simple pendant, but the technique is so versatile as you can see from Seppa's creation above.

Spiculum pendant
It's difficult to create this at home. The metal needs to be annealed numerous times and I don't really have a torch system which gets hot enough to heat up such a large piece of metal.  One day...

Tuesday, July 26, 2011

love of Deco

When I'm sketching, I tend to let my pen wander, draw a shape, fill it in with little details and create a design. Then I draw it about fifty more times with slight variations until I create something I find appealing. I will have pages in my sketch book of one little shape, filled with little differences probably only I care to notice.

The Art Deco era still remains one of my favorite time periods of art history and a source of constant inspiration.  I love the linear aspects, symmetry, geometric designs and overall style with its elegance and beauty.

This necklace I created by sawing out a piece of 20 gauge silver.  I covered it with a resist to protect the silver from the nitric acid and only etch whatever I drew out of the design.


I also solder on two half rings to the reverse so I will have something to attach my chain to. I etch my signature to the reverse of most items I create using nitric acid.


After etching, I clean the resist of the surface. I gave this piece a satin finish by using a 400 grit, carbide sandpaper.  It's not like the paper you would use for finishing wood, it's a bit different and gives metal a nice finish. 


I use an enamel paint to push into the lines so they are a bit more prominent. I use nail polish remover to clean it up, assemble my chain and clasp, and now I have my own little representation of Art Deco.

I enjoy making some of my jewelry a little large. I like the weight of it and after wearing it for a while it becomes warm from your skin. I like to know it's there, a reminder of something I created, it's an expression for what influences me. 

Monday, July 18, 2011

It only took 5(ish) years?

Once upon a time, I found a chair someone was trying to throw away. It was in bad shape, but it had good bones and a great design. So, I took it.  I ripped off all the fabric and removed the stuffing. There were a couple layers of failed paint which I scraped off, sanded meticulously, stained a beautiful cherry and gave it numerous coats of polyurethane.  

Sanded & Stained

I used to study my flash cards for Art History while working on this project. Unfortunately, school took up a majority of my time and the upholstery aspect was put on hold...for years.  I've been dragging this chair (as well as another) around from state to state, apartment to apartment, waiting to find the perfect fabric and/or the time to finish it.

Wesley

My life has undergone some major changes the past couple of months.  I am trying to streamline things, get rid of the clutter and chaos.  It was time for this thing to be finished.  Wesley (sister's dog above) didn't always cooperate, he would perch on my batting, eat the foam stuffing, or simply keep bumping me with his nose until I stopped what I was doing and gave him attention.

Springs!

I enjoy taking on projects and figuring out how to create something. I'll look at pictures, research online and get a basic enough concept so I can just wing it.  The zig zag springs needed to be replaced, so I had ordered them online (years ago, I've also been carrying these around), bought some heavy duty cutters and replaced all the springs.  I borrowed the helical springs from a different chair waiting to be refinished, and after much frustration and pinched fingers, I got it cooperate with me.  I know this may not be the correct version of upholstery, but it works well enough for me.

silver brads

The finished product isn't ideal, but it was definitely a learning process. I added some silver brads for detail, it's a nice contrast against the peridot colored suede. I'm not a huge fan of measuring and the stupid brads kept bending as I hammered them so some are a little off.  A bit annoying, but I'll just tell people it adds character.
It makes me happy


Very off center brads, I fixed a couple of them so they aren't as bad

Sunday, July 17, 2011

a bit of an obsession...

I hate to admit it, but I am rather fond of zebra print.  I try to keep it to a minimum, but I can't help myself. Some little girls want a pony, I want a zebra.  I've made a couple pieces utilizing this striking pattern, I wonder how many other 30 something women are captivated by this print as well.

These earrings are on my Etsy site.  I started out with a piece of copper, cut it with sheers and gave it a slight dome. You must also pre-drill all your holes prior to enameling since you can't drill very well through the glass finish.

I used a technique similar to what I use when doing cloisonne to apply the enamel. After firing on my base coat, the stripes are applied by adding water to the enamel powder. Before firing the enamel must be completely dry or it won't turn out and you may get air bubbles in the enamel.

 The pendant below is also on my Etsy site.  The base for this is silver.  I cut out a silver circle, soldered on a bezel and added a simple bail.  I did a little watercolor and ink picture, inserted it into my frame and covered the piece with a 2 part resin, similar to mixing an epoxy.  Little air bubbles form, but carbon dioxide will pull them up to the surface. So you can either breathe on it or use a butane torch if it's a large surface.


The resin is incredibly durable, a friend and I covered an entire coffee table once with the product, it hardly scratches and cleans up well.

I'm about to re-upholster a chair with a white on beige zebra pattern.  It's subtle, but I think it will bring a nice statement to my living room.  I look forward to the day when I may have a zebra skin (faux of course) rug in my home...


Saturday, February 12, 2011

Life is short.


Lost two friends in one week.  Greg was 29, just got married in June. Car drove into his lane, he couldn't swerve out of her way. Keith, 38, cancer.  Got married in Mexico only a couple months ago.

Friday, February 11, 2011

Royal...

Yes sir, life is royal.

Wednesday, February 2, 2011

A little something...


I generally don't have an idea in mind when I start a design. I just fiddle around until I come up with a shape I like. I'll cut everything out, apply the resist so the acid doesn't etch everything & stare at my blank little canvas until I decide what I want to do.  I generally start over a couple times to get the layout right.  It's so hard to draw on such a smooth surface. Since there's no tooth, my burin slides all over the place & I have to touch spots up.